


How to Choose Wenwan Walnut Brush for Beginners?
Introduction
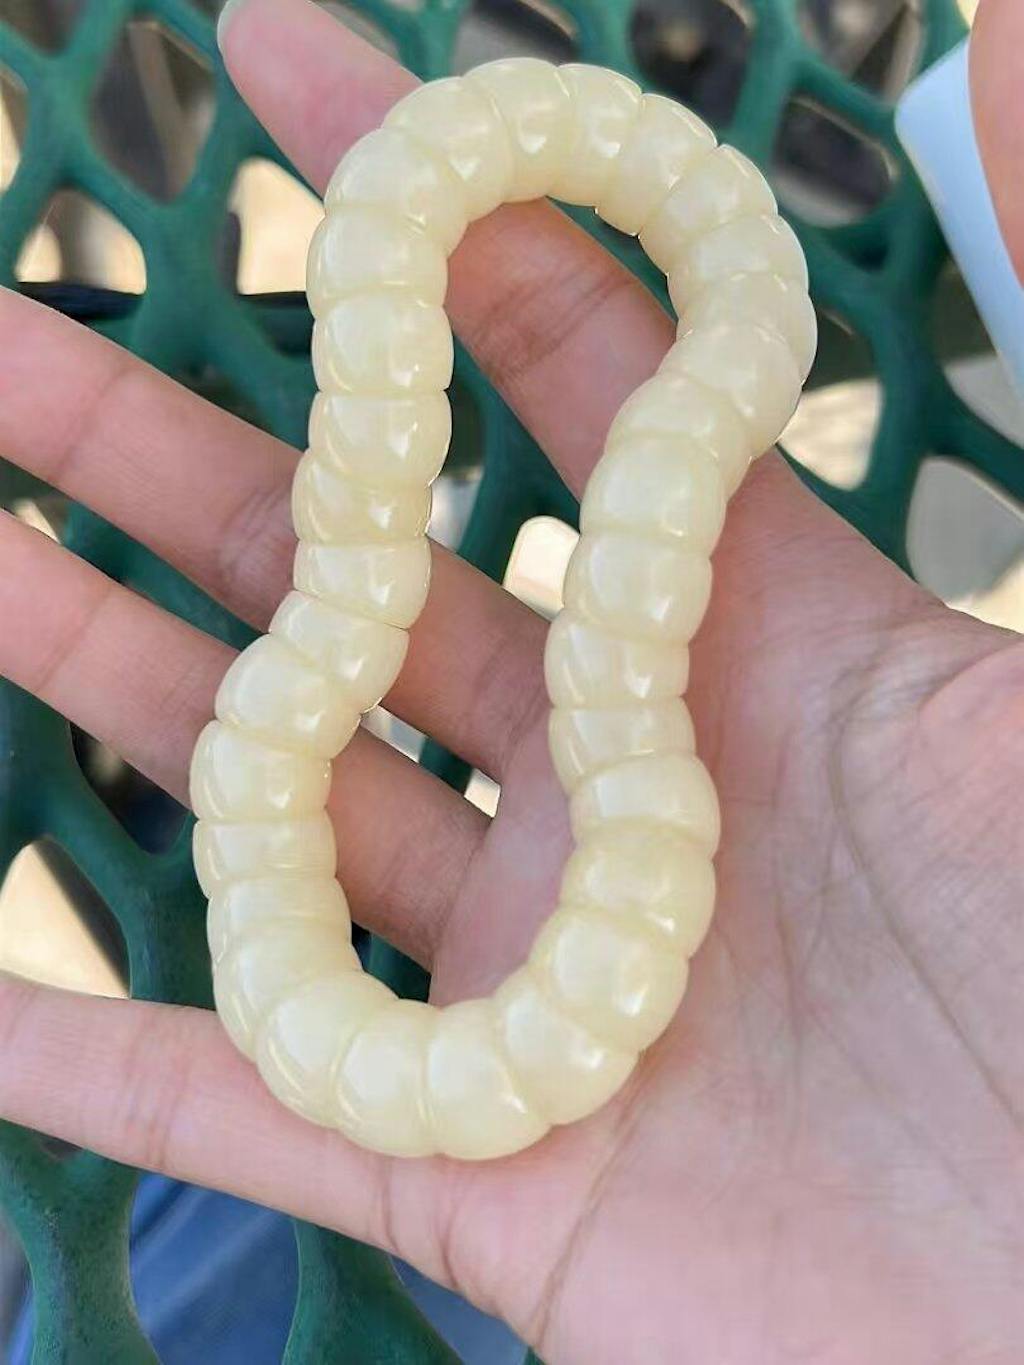
Wenwan walnuts are beloved not only for their shape, texture, and natural patterns, but also for the subtle transformation that happens through daily handling. From pale wood tones to warm red hues, and eventually to a glossy, jade-like finish—every stage of this journey depends heavily on proper brushing.
While brushing often gets overlooked, it is in fact a core part of walnut care, shaping cleanliness, color development, and long-term gloss. This streamlined guide explains everything beginners need: how brushing works, which tools to choose, and how to build a full routine from base preparation to the final shine.

1. Why Brushing Matters: The Science Behind Gloss Formation
To care for Wenwan walnuts effectively, it helps to understand how their transformation works.
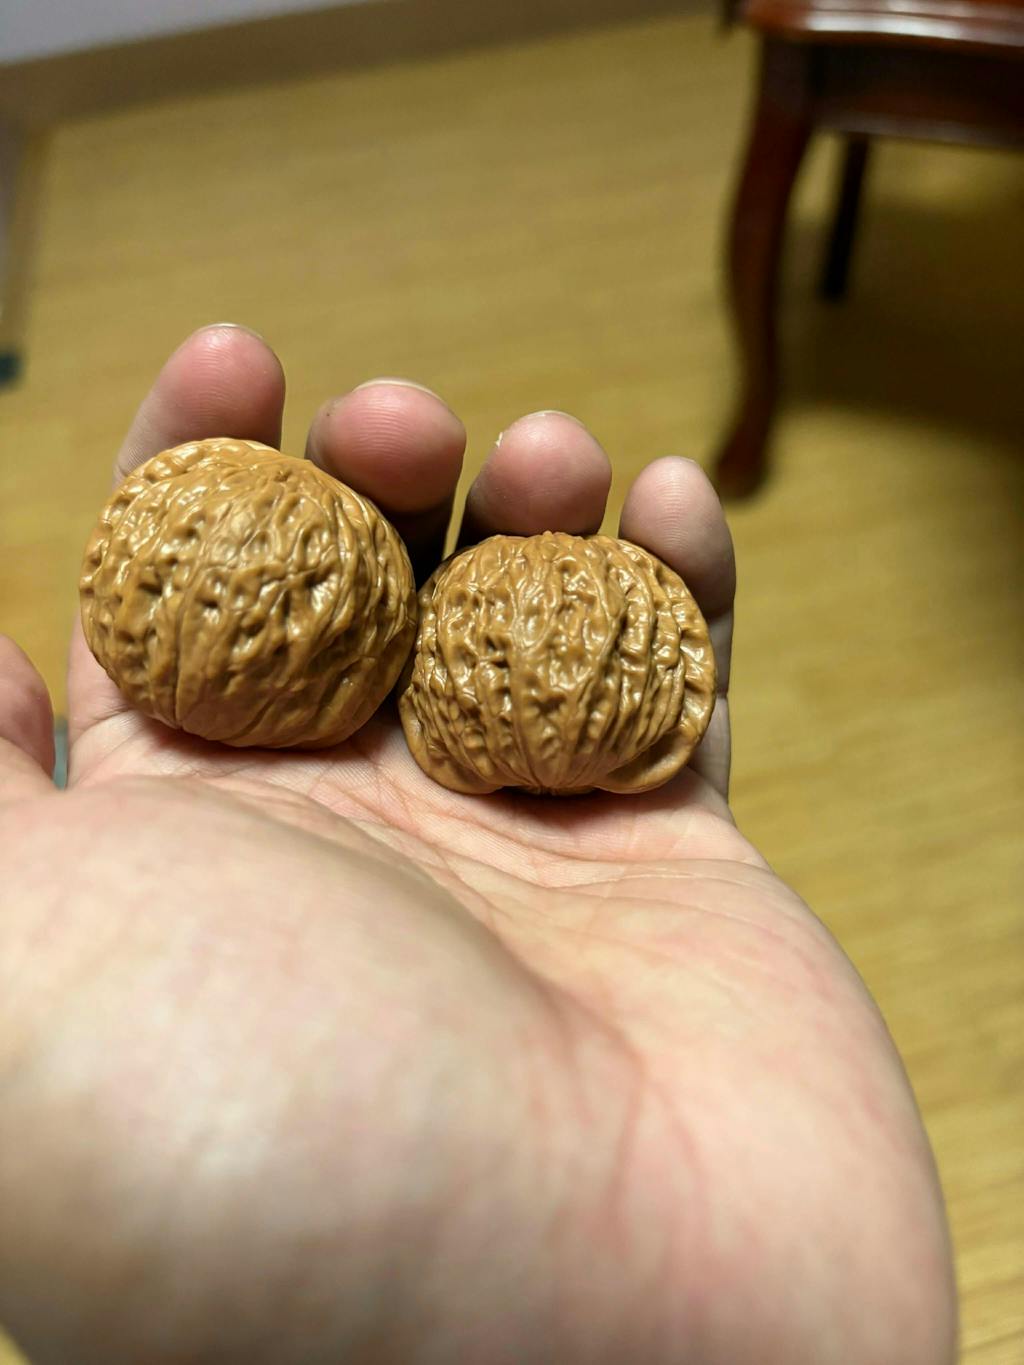
1.1 The Natural Structure of Wenwan Walnuts
Wenwan walnuts behave like dense, textured wood. They feature:
-
Deep and shallow grooves
-
A fine outer hair layer
-
Complex ridges that trap dust
-
Micro-pores that absorb oils and sweat
These characteristics mean that brushing is essential to:
-
Remove residue
-
Clear fibers
-
Open the surface
-
Ensure oils absorb evenly
Skipping this step can cause oils and dust to mix, creating black grime that blocks grooves and leads to uneven color.
1.2 How Color and Gloss Actually Form
Wenwan walnuts develop beauty through three stages:
Penetration
Natural oils and sweat enter the walnut’s wood fibers after the hair layer is removed.
Oxidation
Oils react with air, forming a thin “slurry” that gives the surface its first soft glow.
Thickening
With continued polishing, the slurry strengthens, becoming glossy and eventually semi-translucent—what players call the jade-like finish.
Proper brushing ensures all three phases happen evenly and cleanly.

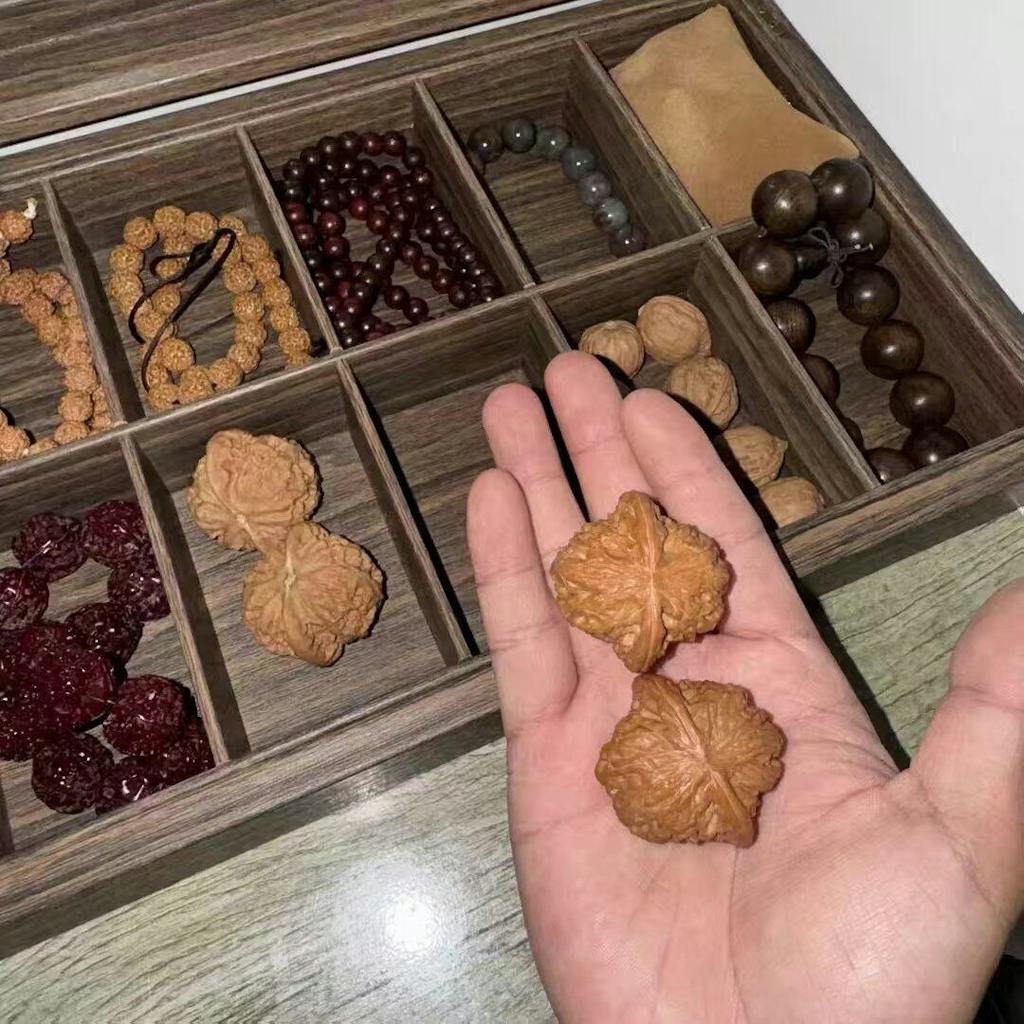
2.Common Brushes for Wenwan Walnuts and Their Characteristics
When caring for Wenwan walnuts, different brushes serve different purposes, and choosing the right one is essential.
Steel wire brushes are mainly used on raw, unplayed walnuts for the initial base cleaning. They help remove leftover pulp quickly and speed up early polishing and patina formation. However, they can easily cause scratches that remain visible for a long time and seriously affect appearance. Poor-quality steel brushes may even darken the walnuts. For this reason, they should be used with caution—only high-quality soft steel wire brushes, light pressure, and strictly for the initial stage. Once the base is done, they should no longer be used.
Nano brushes are the most commonly used and almost every player owns one. Hard nano brushes work well for early-stage polishing without damaging the walnuts, though they are less aggressive than steel wire brushes. Soft nano brushes are ideal for mid-to-late stages, helping remove dust and distribute natural oils evenly into the crevices. Nano brushes are affordable and effective, but they age quickly and may shed white powder, making the walnuts look dirty, so they need frequent replacement.
Bristle brushes, mainly boar bristle and horse bristle, are also widely used, with boar bristle being more common. Hard boar bristle brushes are suitable for early polishing, while soft ones are ideal for daily maintenance such as dust removal and oil distribution. Their advantage is that the bristles retain oils, making the walnuts shinier over time, and they last much longer than nano brushes. The downsides include shedding bristles, possible odors even after degreasing, and the risk of color bleeding from fake brushes. New boar bristle brushes should always be washed and air-dried before use.
Nylon(Wanmao) brushes, a newer type in recent years, feature extremely dense bristles—often claimed to exceed ten thousand hairs per brush. Hard versions are meant for polishing, while soft ones are better for dust cleaning. They come in many shapes and are relatively expensive. Due to high density and stiffness, hard wanmao brushes struggle to reach deep crevices, limiting their effectiveness. Soft wanmao brushes perform better for cleaning and evenly spreading oils.
Finally, toothbrushes, especially soft-bristle ones, are extremely effective for cleaning walnut crevices. They offer thorough, no-dead-angle cleaning at a very low cost and with a long lifespan. However, because of their small size, they are best used alongside other brushes for overall maintenance and oil distribution.

3. How to Choose the Right Walnut Brush
Using the correct brush at each stage is key to healthy color development and a smooth, lasting patina. Wrong methods—especially water washing—can worsen alkali buildup or even crack the shell. Here’s how to choose properly, step by step.
3.1 Base Stage (Cleaning & Foundation)
The base stage focuses on deep cleaning and surface preparation.
At this stage, you can use either a hard nano brush or a super hard nylon (wanmao) brush.
-
Hard nano brush
Ideal for base cleaning. The firm bristles effectively remove alkali residue and leftover fruit pulp from both the surface and crevices. Despite being stiff, it won’t damage the walnut shell, making it a must-have tool for beginners. -
Super Hard nylon (wanmao) brush
Lightweight and portable, with similar cleaning ability. It’s especially useful for quick daily brushing and removing visible residue during the early stage.
What is alkali buildup?
The white frost sometimes seen on walnuts is a natural alkaline substance released from the shell when exposed to air and temperature changes. It can also come from dried sweat residue if hands aren’t fully clean before handling.
⚠️ Important reminder:
Do not rinse walnuts with water or scrub forcefully. Water can drive alkali deeper into the shell, making buildup worse and increasing the risk of cracking.
3.2 Transition Stage (Smoothing & Brightening)
After the base is clean, walnuts enter the transition stage, where surface texture and early shine begin to form.
-
Soft nano brush
Softer and more elastic than hard nano brushes, this brush is perfect once base cleaning is complete. It helps even out the surface, enhances early gloss, and supports the formation of a smooth, ceramic-like finish.
Consistent brushing during this stage noticeably improves brightness and touch.
3.3 Patina Stage (Coloring & Build-Up)
When walnuts start to color and develop patina, brush choice directly affects depth and warmth.
-
Black boar bristle brush
Naturally high in oil, this brush helps accelerate color development. The bristles’ natural oils promote faster and richer patina formation. -
Yellow soft boar bristle brush
Also oil-rich, but softer. Ideal for building a thicker, more layered patina with quick color response. - Hard nylon (wanmao) brushA stiff nylon brush is essential for enhancing the patina and brightening the color of walnuts. By gently buffing the surface, it helps to bring out a deeper, richer hue while highlighting the natural sheen of the walnut.
These brushes are best used once the walnut surface is stable and clean.
3.4 Maintenance Stage (Dusting & Long-Term Care)
In the later stage, the goal is to protect the finish and keep the surface clean.
-
Soft nylon (wanmao) brush
Extremely fine and gentle, perfect for daily dusting and maintenance. It’s especially useful for walnuts with deep grooves or complex textures, where dust easily settles.
Proper maintenance brushing helps preserve shine and prevent buildup without disturbing the patina.
Overall principle:
From the early stage to the later stage, brushes should be chosen from hard to soft, and the brushing pressure should gradually decrease.

4.How to Use Brushes on Wenwan Walnuts for a Better Patina
The patina of Wenwan walnuts develops in three clear stages, and each stage requires a different “skincare strategy.” Using the right brush, pressure, and timing makes all the difference.
4.1 Base Stage · Deep Cleaning
Goal:
“Wake up” the surface of the walnut, completely remove white frost (alkali) and leftover fruit residue, and build a solid foundation.
Key tool:
Hard nano brush
Technique:
Dry brushing only. Think of it like using a facial cleansing device — firm pressure, steady rhythm, brushing along the natural grain. You should hear a light “sand-like” brushing sound.
Frequency:
Go all in during the early stage. Brush for over 1 hour per day, consistently for 1–2 weeks, until the surface develops a noticeable shine (early gloss / “ceramic hang”).
4.2 Coloring Stage · Nourishing & Even Toning
Goal:
Help the walnuts color evenly and gradually develop a richer, warmer red tone.
Key tool:
Medium-hard boar bristle brush
Technique:
Boar bristles naturally contain a small amount of oil, which helps color settle into the surface. Use lighter pressure than before, focusing on gentle sweeping and light tapping, guiding oils and natural sweat evenly into the deeper grooves.
Frequency:
After handling, when your hands start to feel slightly sweaty, give the walnuts a brush.
A good daily balance is: 70% handling, 30% brushing.
4.3 Jade Stage · Polishing & Brightening
Goal:
Achieve a clear, translucent patina with a soft, jade-like glow — often called a “glass base.”
Key tool:
Soft nylon (wanmao) brush
Technique:
Ultra gentle. Imagine using a makeup finishing brush to dust highlighter — light, soft strokes across the surface. The main purpose here is dust removal and subtle polishing, not force.
Frequency:
Before daily handling, lightly brush off surface dust. That’s enough.
4.4 Three Helpful Tips to Remember
-
Brushes get dirtier than you think.
Clean your brushes regularly with water, and make sure they’re completely dry before reuse. -
More force doesn’t mean better results.
Over-brushing or brushing too hard can damage the walnut’s surface instead of helping it. -
Your hands are the ultimate tool.
Brushes are only assistants. Clean hands and consistent, patient handling are what truly create a beautiful patina.

5. The Complete Beginner Brushing Workflow
Use this sequence every time you prepare or maintain your walnuts.
Step 1: Light Surface Opening
Use a hard plastic or hard nano brush.
Purpose: remove loose debris and prepare the surface.
Step 2: Main Brushing for Cleaning & Gloss Activation
Use a pig bristle or horsehair brush.
-
Deep grooves → short, rapid motions
-
Shallow patterns → longer sweeping motions
This is the step that truly shapes the walnut’s long-term appearance.
Step 3: Detail Cleaning
Use a soft toothbrush or microfiber brush to remove remaining dust in grooves.
6. When Is the Base Preparation Finished?
Your walnut is ready for genuine polishing once:
✔ Grooves are completely clean
No visible fibers, residue, or white spots.
✔ The surface shows a thin, even mist-like glow
Not glossy yet—just a soft, uniform sheen.
This indicates the walnut is ready for oils and daily rubbing.

Conclusion
Proper brushing is the foundation of Wenwan walnut care. With a well-chosen Wenwan Walnut Care Brush Set and patient, gentle techniques at each stage, beginners can maintain clean grooves, develop even color, and achieve a lasting jade-like patina through consistent daily handling.
Related articles:
Three Key Questions and Five Ultimate Brushing Techniques for Wenwan Walnuts
A Beginner’s Guide to Wenwan Walnuts: History, Meaning, and How to Choose a Pair
What Makes Wenwan Walnuts So Valuable to Collect and Play?
Wenwan Walnut Polishing Guide: How to Get the Perfect Red Patina